
Help your fellow builder by leaving your feedback based on these three criteria:
- Originality: How original is this - never seen before?
- Building Techniques: How much skill do you think the creator of this MOC has, in terms of building technique?
- Details: Express how much you like the details of the build.
Your feedback is only shown to the creator as well as yourself. It is not available for other users to see. The creator won't see your user name.
3...
I'm sorry that I couldn't post all the other instructions in time, but there was no time. But here they are, as a video!
Rocket upper part:
Rocket Booster:
Launch tower:
Next day, next instruction! Here is the instruction for the start table I did as an update for my mercury rocket. I just realised, that it also fits with the A4, so you get those instructions, too:


And the part list:


The countdown has started...
The countdown for my rocket has started! Well, unfortunatly not for liftoff, but for the expired state. So I thougt my all my supporters would be happy to get the building instructions. And like it's tradition for a countdown you get one part of the instructions every day. Today we start with the controll room:


I left out the building instructions for the minifigures, because I thought you know how to build one :). The parts are can be find in the list anyway. Don't wonder if you need 4x flat tile 1x2 black with the same decal, but my program thougt all those pieces would be the same. Of course you need thepieces with the right decal. You can see them in the building instruction.
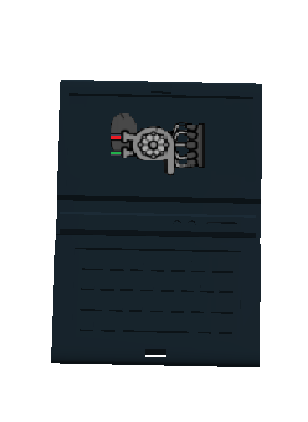
And here are the decals for the laptop:

Laptop Picture

Here are two pictures wich could be decals for the display of the laptop
Help your fellow builder by leaving your feedback based on these three criteria:
- Originality: How original is this - never seen before?
- Building Techniques: How much skill do you think the creator of this MOC has, in terms of building technique?
- Details: Express how much you like the details of the build.
Your feedback is only shown to the creator as well as yourself. It is not available for other users to see. The creator won't see your user name.